Learn how to build a workflow from scratch — adding nodes, connecting edges, attaching tools, setting global variables, and publishing a version for live execution
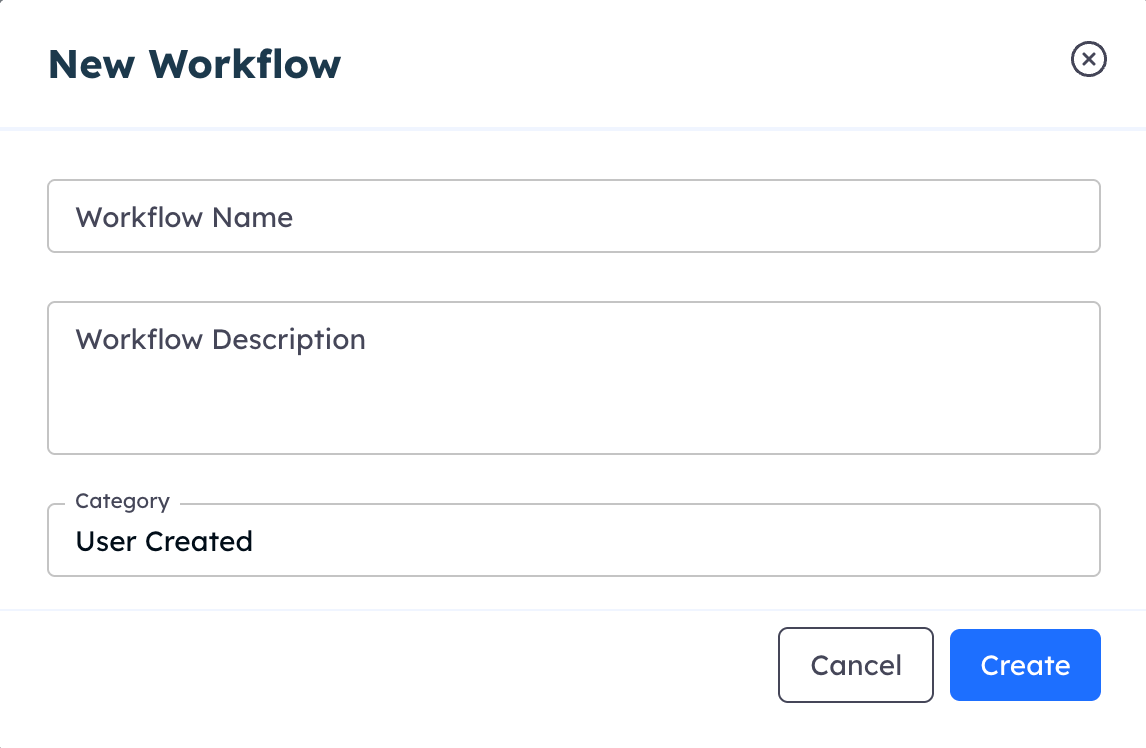
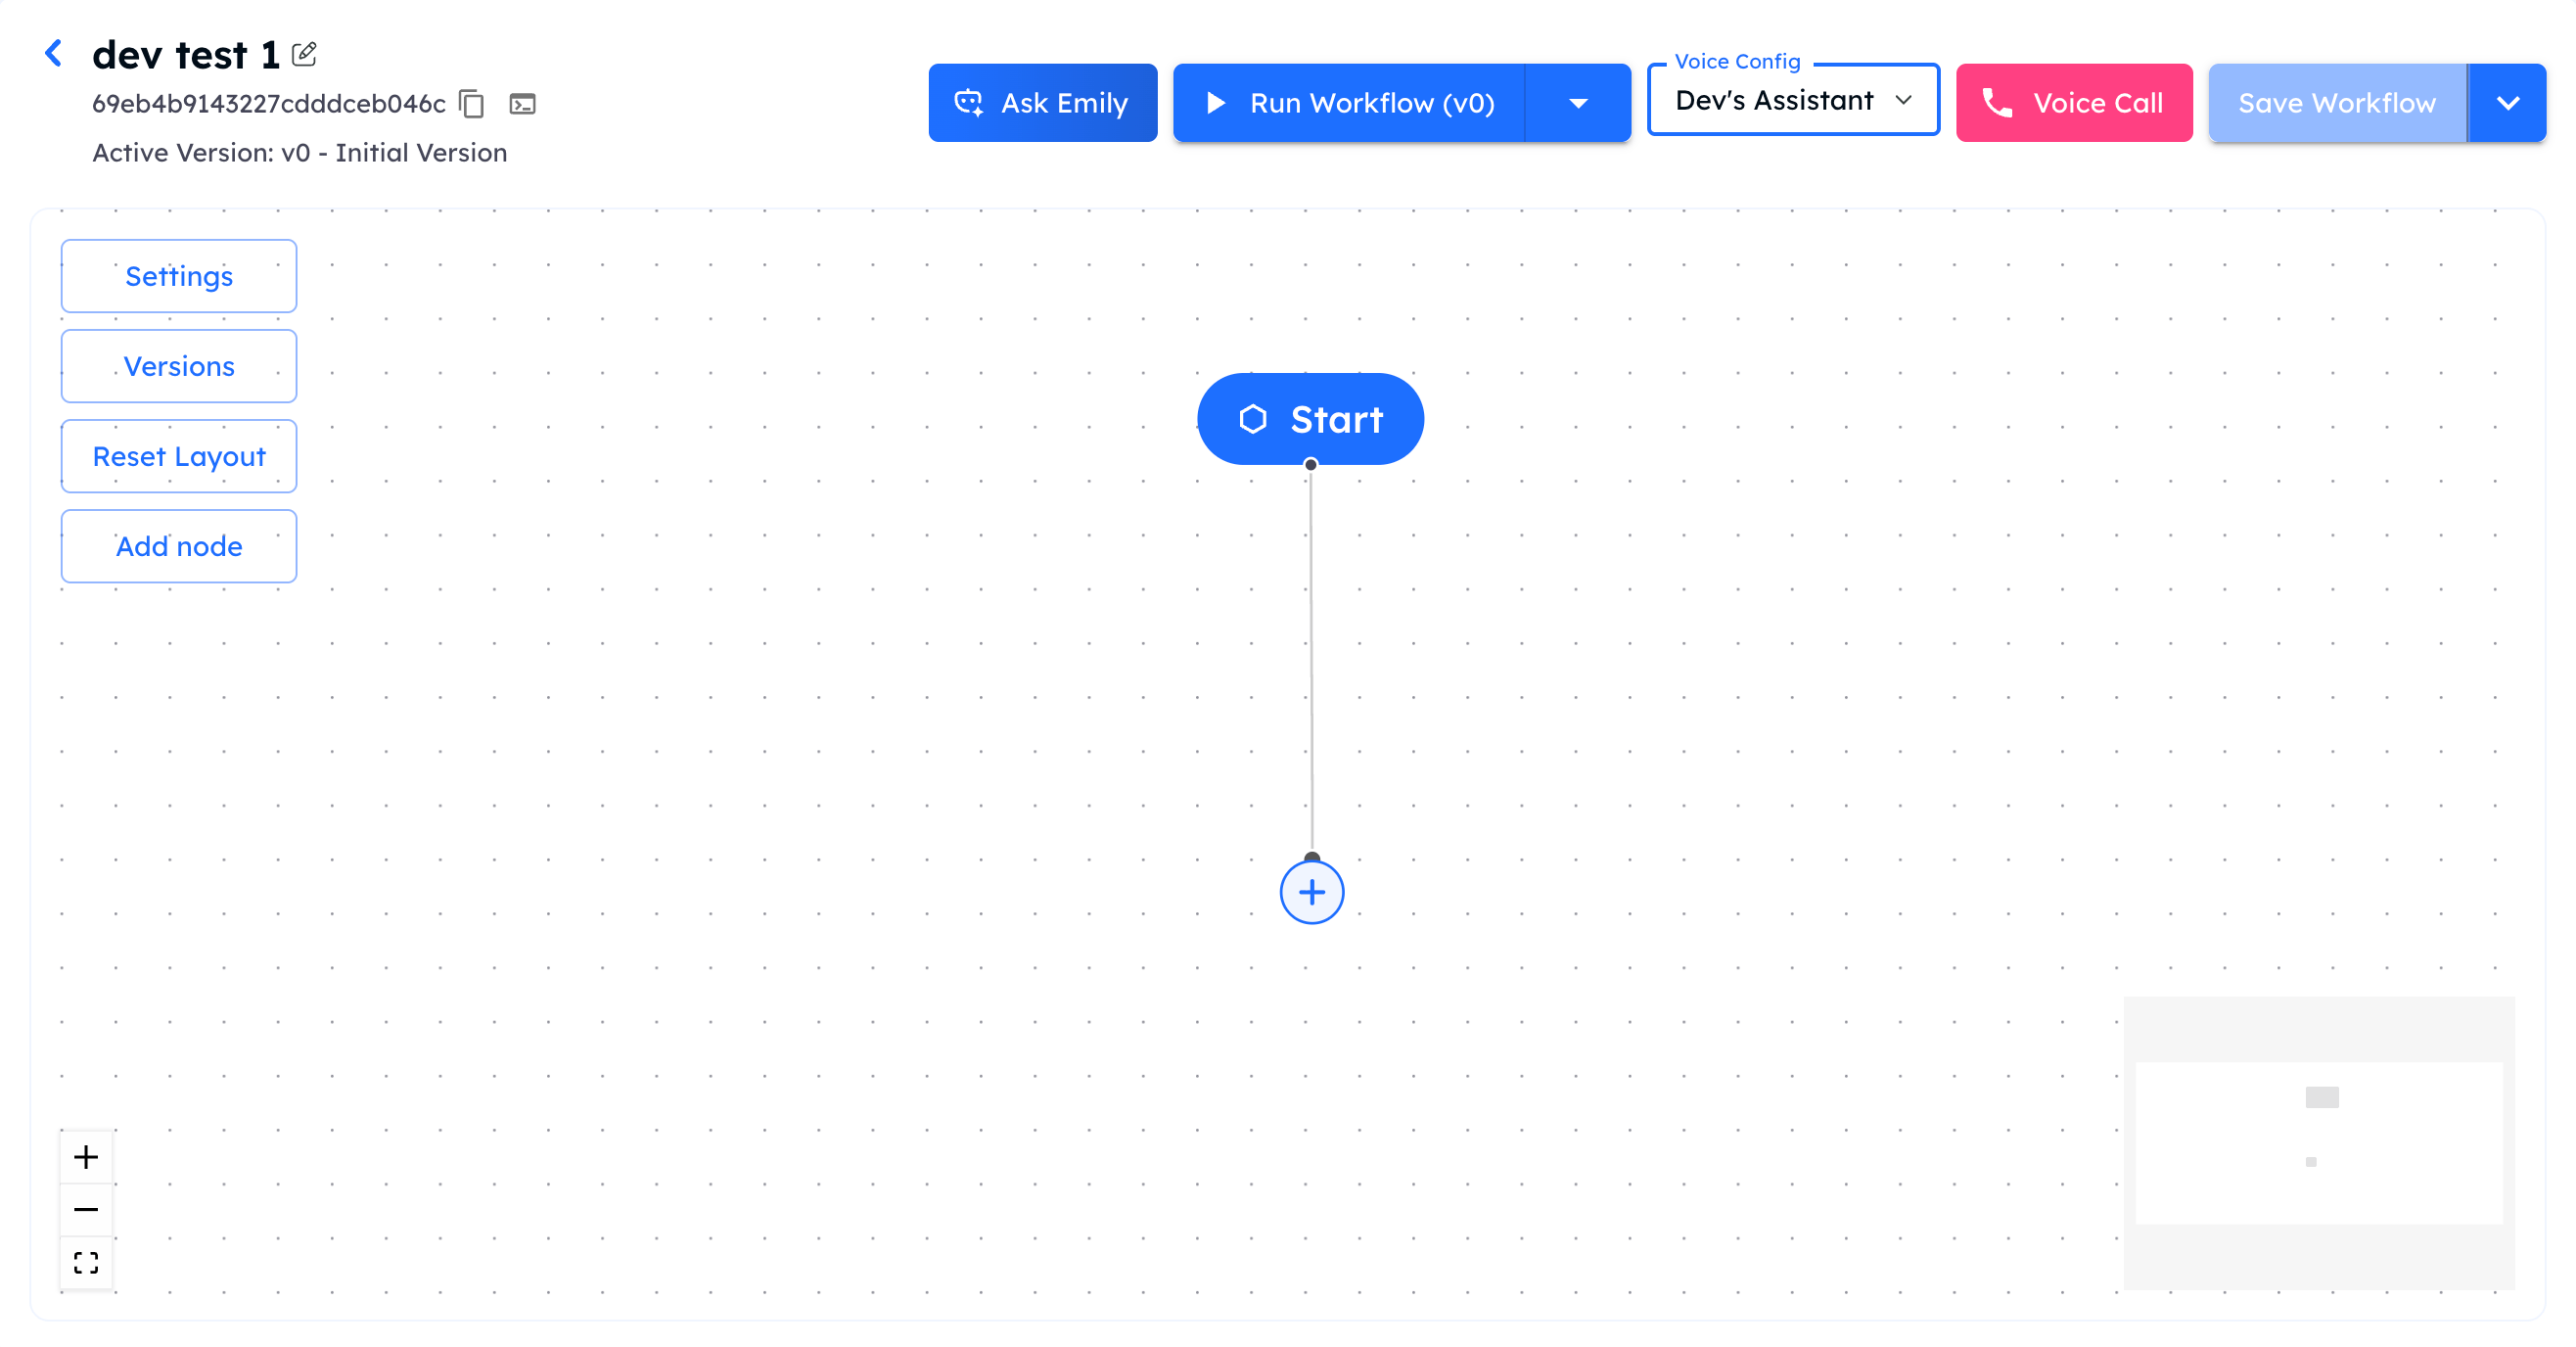
Workflows are built as a graph of connected nodes and edges in the Interactly dashboard. Each workflow starts with a blank canvas — you add nodes for each step of your process, connect them with edges to define the execution flow, and publish a version when ready.
Every workflow is version-controlled from the moment it’s created. Version 0 is automatically generated on creation — you can iterate freely and publish new versions without affecting live executions.
Nodes are the building blocks of a workflow. Each node performs one discrete action — generating an LLM response, calling an API, sending an SMS, or controlling conversation flow.
Unconditional transition — execution moves from the source node to the target node immediately after the source completes.Use when: The next step is always the same, regardless of what happened at the source node.
Conditional Edge
LLM-evaluated routing — a natural language condition is evaluated at runtime by an LLM. Execution only proceeds along this edge if the condition is satisfied.Use when: The next step depends on conversation context, collected data, or a specific outcome.
Condition — write the condition in plain English, e.g. "The patient confirmed their appointment" or "The user requested a callback"
Priority — when multiple conditional edges leave a node, priority determines evaluation order
Write conditions as complete, specific statements about what must be true for the edge to activate. The runtime LLM evaluates these against the full conversation context.
Companion Edge
Parallel execution — the target node runs alongside the primary flow without blocking it. The source node does not wait for the companion to complete before continuing.Use when: You want to trigger a background action (e.g., logging, sending an SMS) while the main conversation continues.
Global Variables are team-level key-value pairs automatically injected into every workflow execution. Use them in prompts, messages, and tool inputs via {{variable_name}} syntax.
Define Variables
Navigate to Settings → Global Variables and click New Variable.
Set a name, value, optional description, and category for grouping.
Use in Workflows
Reference any global variable inside a node’s system prompt, message body, or HTTP request using {{variable_name}}.
Global Variable Fields
Field
Description
name
Unique identifier — alphanumeric and underscores only, must start with a letter or underscore
value
The variable’s value — can be plain text, JSON, or a full system prompt
description
Human-readable description (max 1024 chars)
category
Grouping label, e.g. Prompts, Config, Credentials
is_secret
If enabled, value is masked in list responses
Reserved Variable Names
The following names are reserved and cannot be used for custom global variables:now, date, time, year, month, day, hour, minute, workflow_invoke_countThese are automatically injected by the runtime with current date/time context and execution metadata.
If a user-provided dynamic variable shares the same name as a global variable, the user-provided value takes precedence at execution time.
Interactly tracks every change to your workflow as a version. Version 0 is created automatically when you first create the workflow. When you’re ready to go live, activate the version you want to use for execution.
1
Save Your Changes
All node and edge changes are saved automatically. Use the Save button to explicitly commit the current canvas state to the active version.
2
Create a New Version (Optional)
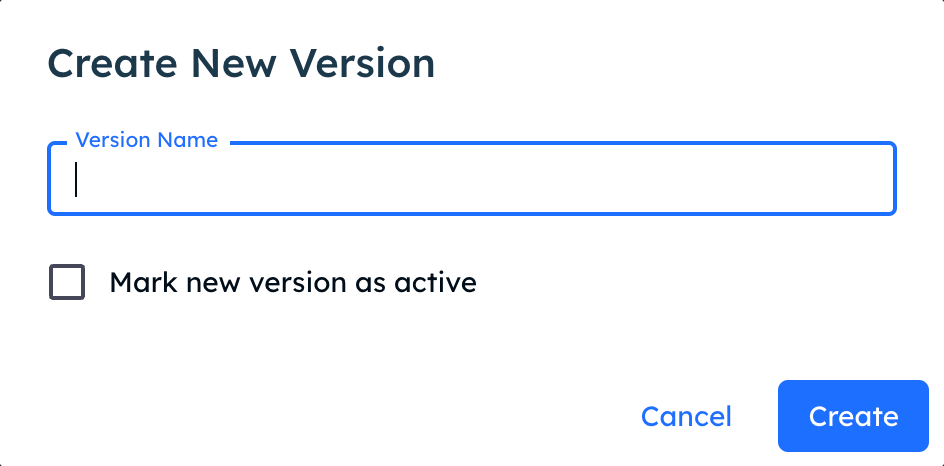
To snapshot the current state before making further changes, click New Version. Give it a meaningful name like "v1 — Initial Release" or "v2 — Add Callback Branch".
Creating a new version
3
Activate the Version
Click Activate on the version you want to use for live execution. All subsequent executions — triggered manually, via schedule, or via webhook — will run this version by default.
Activating a version does not interrupt runs already in progress. In-flight executions continue on the version they started with.
Control how many instances of a workflow can run simultaneously:
Team-level limit — set by Interactly for your organisation (default: 50 concurrent runs)
Per-workflow limit — optionally configure a lower cap for a specific workflow via Settings → Concurrency
Per-workflow limits are always within your team-level ceiling. Setting a per-workflow limit to 0 removes the per-workflow cap and falls back to the team limit.