

This guide builds on the ngrok setup. Make sure you have ngrok installed and authenticated before proceeding.
What You’ll Build
A FastAPI-powered webhook receiver that:Capture Events
Receives and stores
status-update and conversation-update events per call in memoryLive Chat View
Renders user and assistant messages in a real-time chat bubble interface
Multi-Call Support
Tracks multiple simultaneous calls with a conversation selector dropdown
Auto-Refresh
Polls the server every second and auto-scrolls to the latest messages
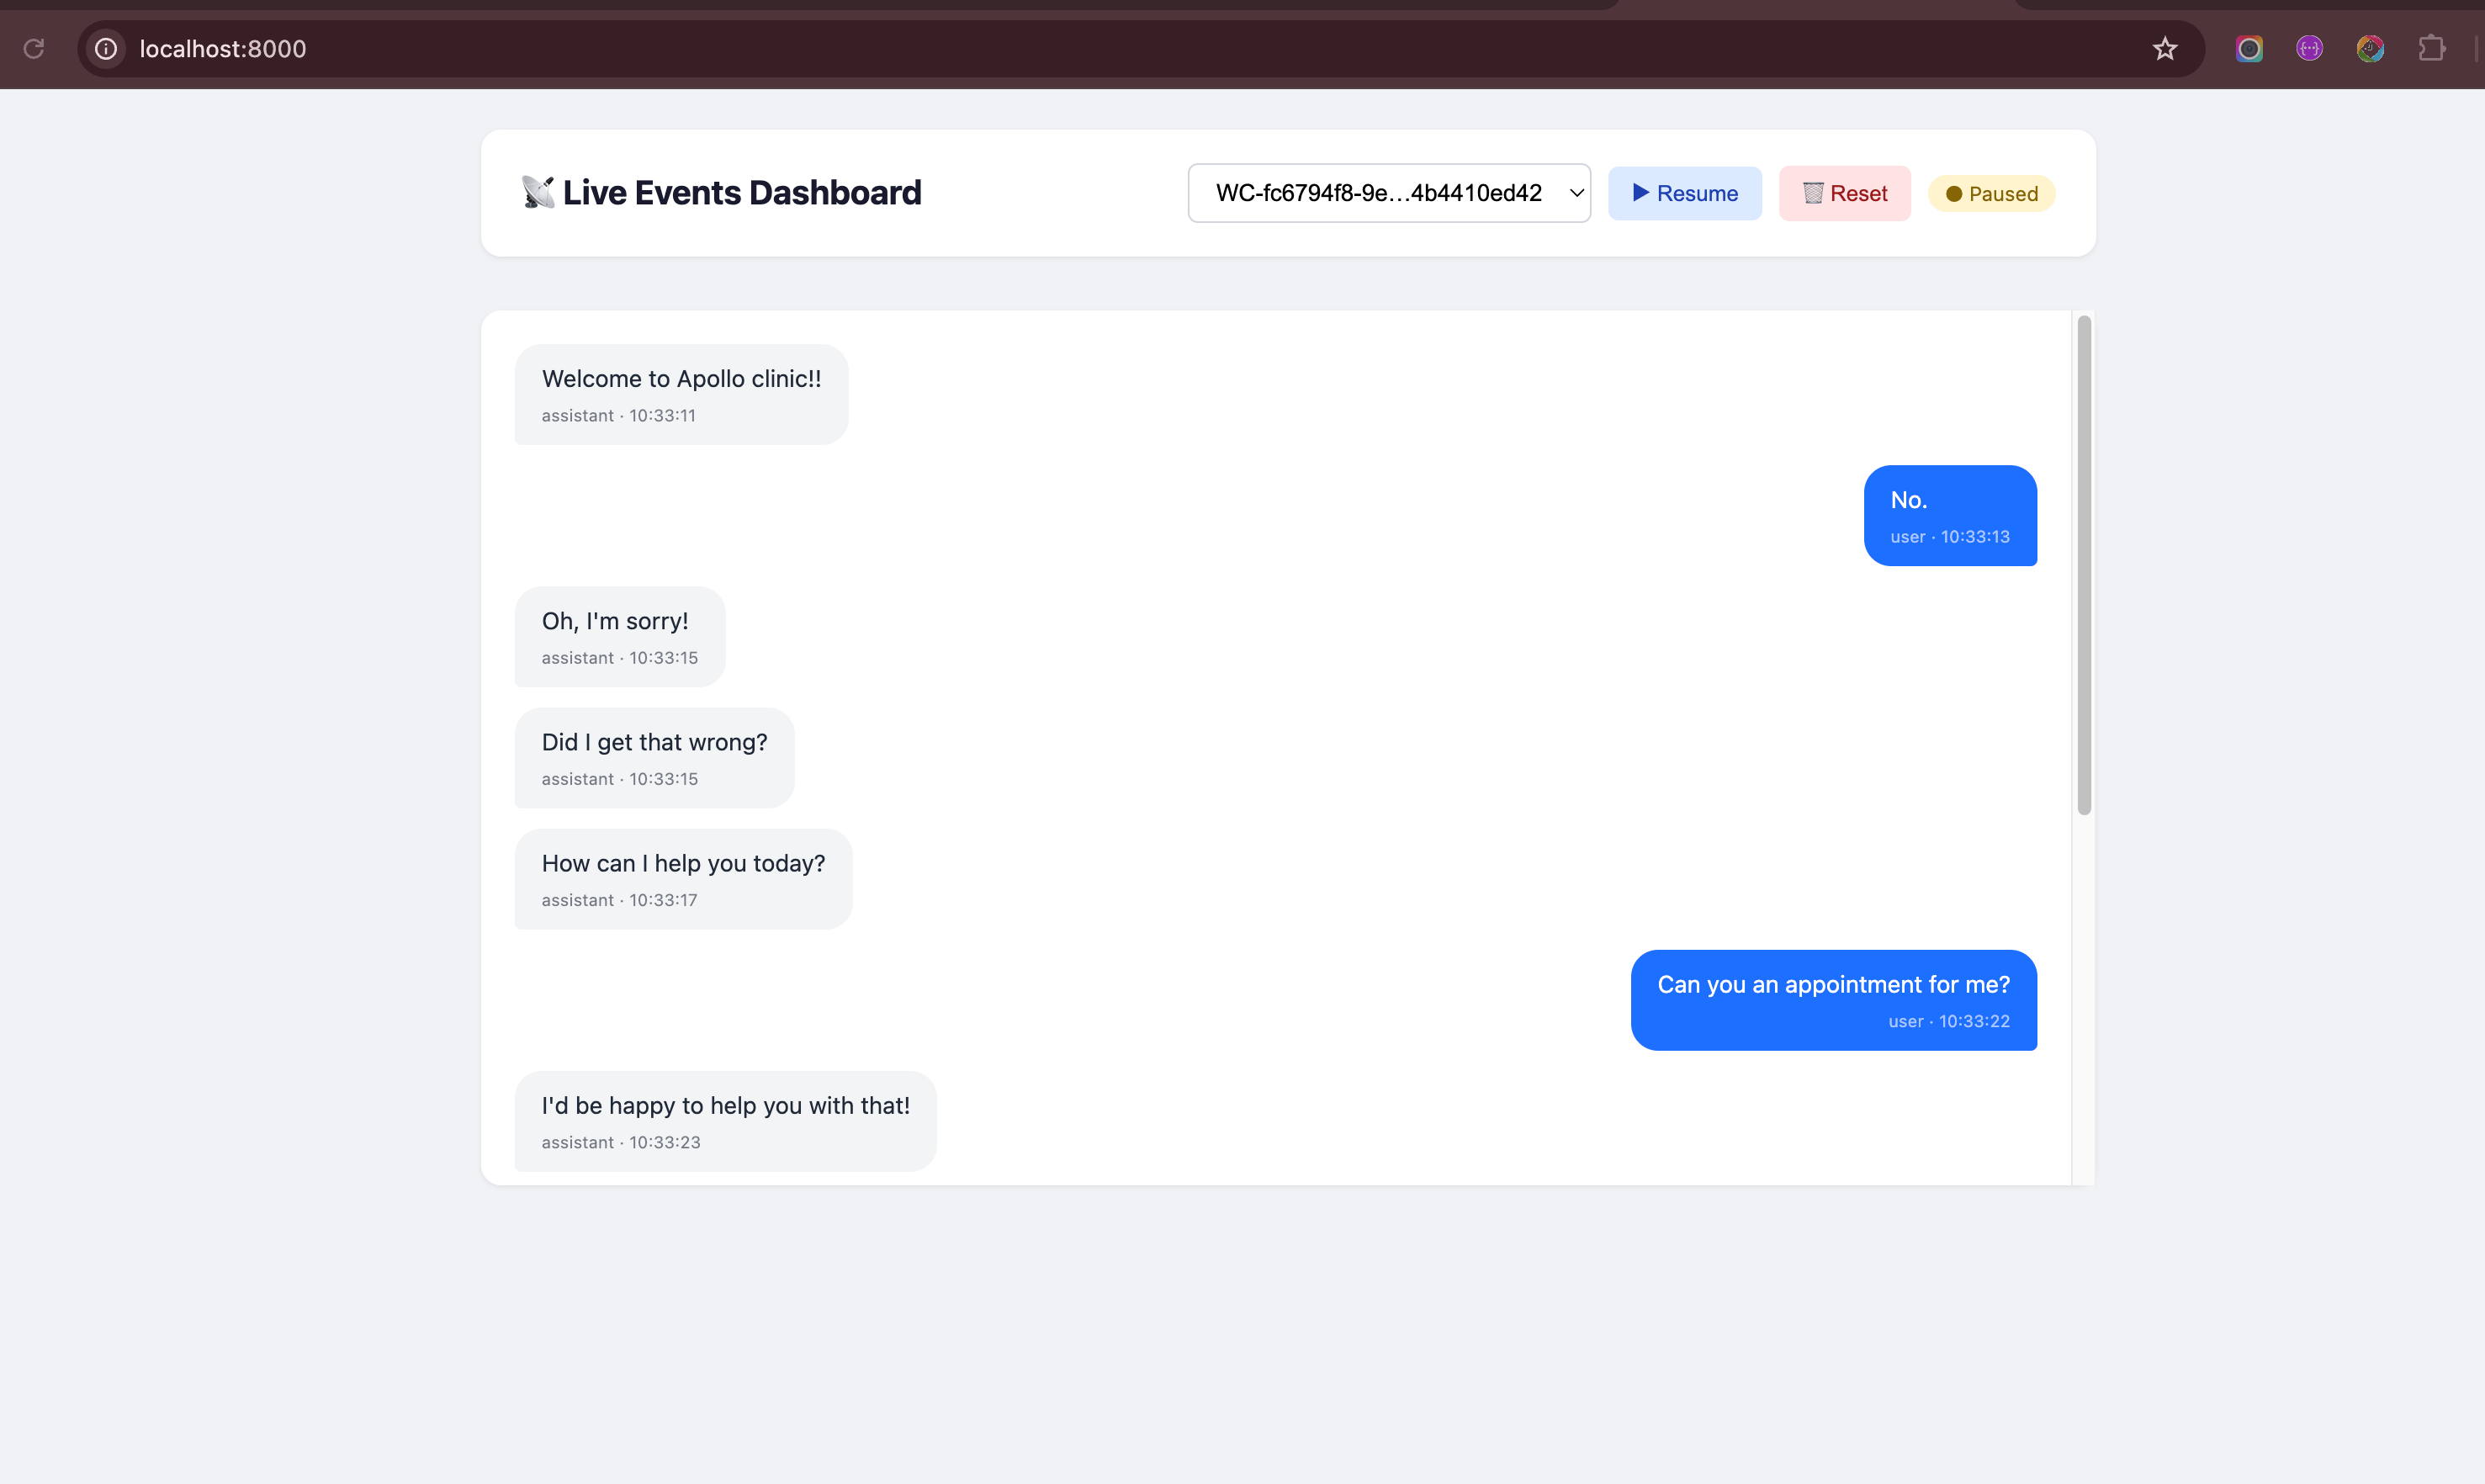
Example of the live events dashboard showing a conversation with status pills and chat bubbles.
Prerequisites
- Python 3.8+
- ngrok installed and authenticated
- An Interactly assistant with webhooks enabled
Architecture Overview
The system has two parts:1
Backend — FastAPI webhook receiver
A Python server that accepts incoming webhook POST requests, parses
status-update and conversation-update events, deduplicates messages, and exposes REST endpoints to query stored data.2
Frontend — HTML live dashboard
A single-page HTML file served by the same FastAPI server. It polls the backend every few seconds, lets you pick a conversation, and renders messages in a chat-style layout with auto-refresh.
Step 1: Install Dependencies
We only need FastAPI and Uvicorn — no database, no extra libraries. Events are stored in memory for simplicity.
Step 2: Create the Webhook Server
Createserver.py — this is the core of the live events system:
server.py
How the server works
In-memory event store
In-memory event store
event_store is a plain Python dict keyed by call ID. Each entry holds three lists — statuses, messages, and raw events. No database setup required; data resets when you restart the server.Message deduplication
Message deduplication
Interactly sends all messages accumulated so far with every
conversation-update event. The server tracks seen messageId values in a set and only appends genuinely new messages — so your dashboard never shows duplicates.Dual-purpose server
Dual-purpose server
The same FastAPI instance serves the webhook endpoint (
POST /webhook), the REST API (GET /api/conversations), and the HTML dashboard (GET /). One process, one port — no CORS issues.Step 3: Create the Live Dashboard
Createdashboard.html in the same directory as server.py:
dashboard.html
Dashboard features at a glance
Auto-discovery of new calls
Auto-discovery of new calls
The dashboard polls
/api/conversations every 1.5 seconds. When a new call ID appears, it’s added to the dropdown and auto-selected so you see messages immediately — no manual refresh needed.Chat-style message rendering
Chat-style message rendering
User messages appear on the right (blue bubbles), assistant messages on the left (grey bubbles), exactly like a messaging app. Each bubble shows the role and timestamp.
Status pill timeline
Status pill timeline
Call status transitions (
queued → ongoing → finished) are displayed as pills above the chat area, giving you a quick timeline of the call lifecycle.Pause / Resume / Reset
Pause / Resume / Reset
Pause stops polling without losing data. Resume picks back up instantly. Reset clears all stored events on the server — handy between test runs.
Step 4: Start Everything
You need two terminals — one for the server, one for ngrok.- Terminal 1 — Server
- Terminal 2 — ngrok
Step 5: Configure Your Assistant
Point your Interactly assistant’s webhook to the ngrok URL with/webhook appended.
- Dashboard UI
- API (cURL)
- API (Python)
1
Open assistant settings
Go to Interactly Dashboard → Clinical Assistants → Your Assistant → Advanced Tab
2
Enable Server Configuration
Toggle webhooks on, and set the URL to:
3
Select events
Under Server Messages, enable at least:
status-updateconversation-update
4
Save
Click Update Assistant to apply.
Step 6: Make a Test Call
1
Open the dashboard
Navigate to
http://localhost:8000 in your browser.2
Start a call
Go to your Interactly dashboard and initiate a test call with the configured assistant.
3
Watch live
The dashboard will auto-detect the new call. Status pills appear first (
queued → ongoing), then messages stream in as the conversation progresses.4
End the call
When the call ends, you’ll see the
finished status pill. All messages remain visible for review.- Server Terminal
- Browser Dashboard
Project Structure
After completing all steps, your directory should look like:Troubleshooting
Dashboard shows 'Waiting for calls…' but events are arriving in the terminal
Dashboard shows 'Waiting for calls…' but events are arriving in the terminal
Open browser DevTools → Console. If you see CORS or fetch errors, make sure you’re accessing the dashboard via
http://localhost:8000 (served by FastAPI), not by opening the HTML file directly.ngrok tunnel died / URL changed
ngrok tunnel died / URL changed
Restart ngrok (
ngrok http 8000), copy the new Forwarding URL, and update your assistant’s webhook URL. The server itself doesn’t need restarting.Duplicate messages in the chat
Duplicate messages in the chat
This shouldn’t happen — the server deduplicates by
messageId. If it does, restart the server (Ctrl+C then python server.py) to clear the in-memory store, or click Reset in the dashboard.Port 8000 already in use
Port 8000 already in use
Either kill the existing process (
lsof -i :8000 then kill <PID>), or start on a different port:Next Steps
Webhook Events Reference
Learn about all 5 webhook event types and their payload structures
ngrok Setup Guide
Detailed ngrok configuration including custom domains and auth tokens